Photo Album: A Project From Start to Finish
Click on the image below to see a photographic journal of a project from start to finish. To advance the slide show, move your mouse over the image and click “next” or “previous” and “close” to leave the slideshow. The journal doesn’t show every step in the process, but it illustrates the attention to detail and craftsmanship required during the labor-intensive process of creating a unique, soundly constructed piece of furniture that will endure lifetimes of use.
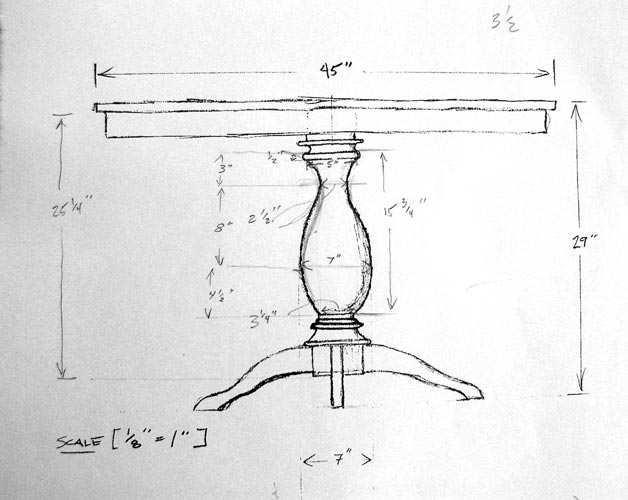
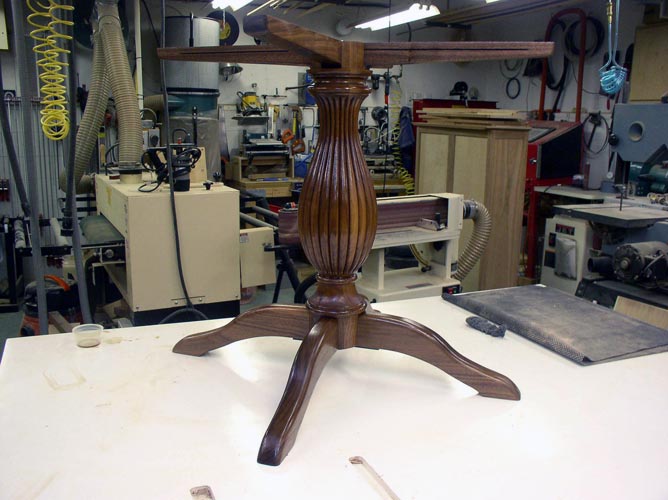
- This pedestal table design approved by the client called for an urn-shaped column having a maximum diameter of 7”. A solid piece of walnut of that size would almost certainly contain unacceptable hidden defects (such as voids and knots) that would be exposed by the lathe. Attempting to turn the column from such a piece would very likely be a waste of time and materials.
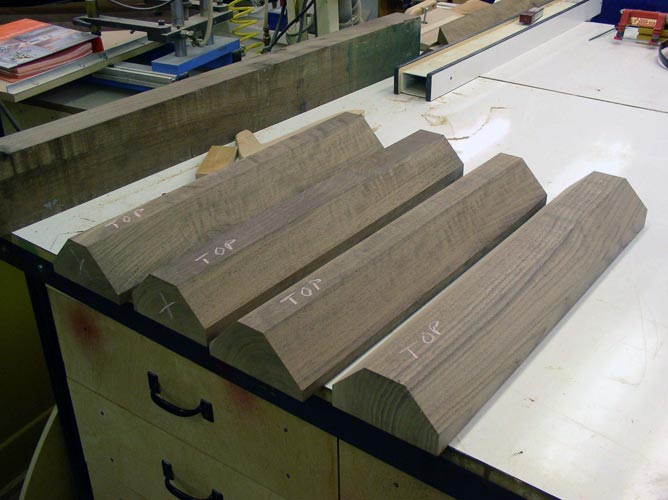
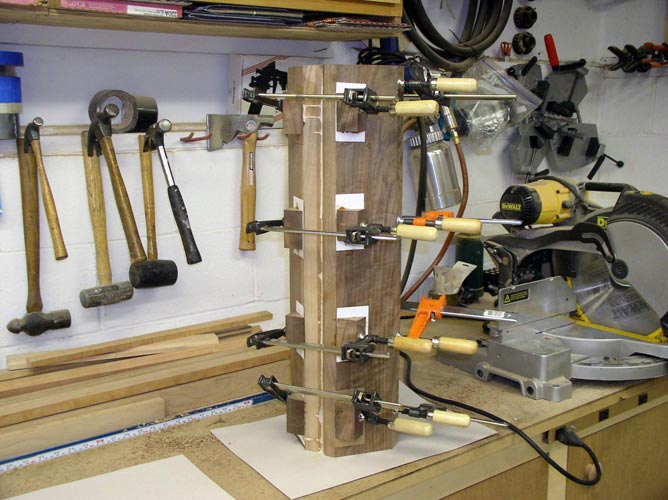
- To avoid those problems, I glued up several pieces of walnut to form the blank for the column, carefully orienting each piece for the best grain match.
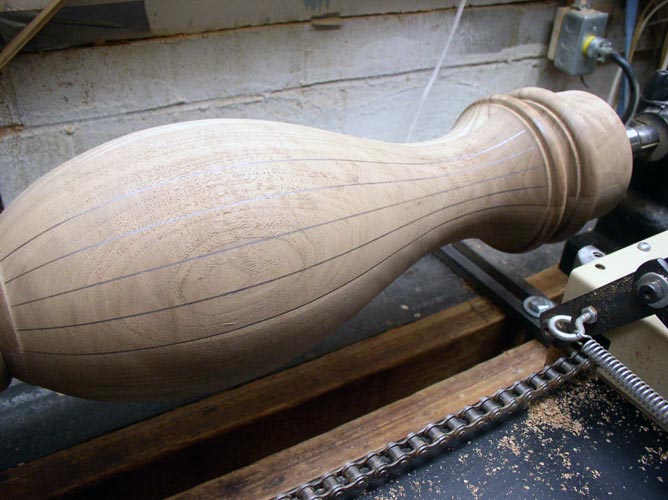
- After the glue cured the column was turned and marked for reeds.
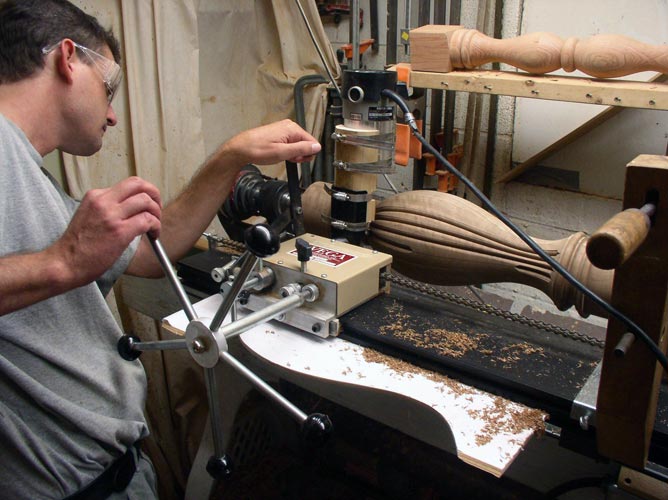
- Using a router mounted on the lathe, I carved the reeds into the urn.
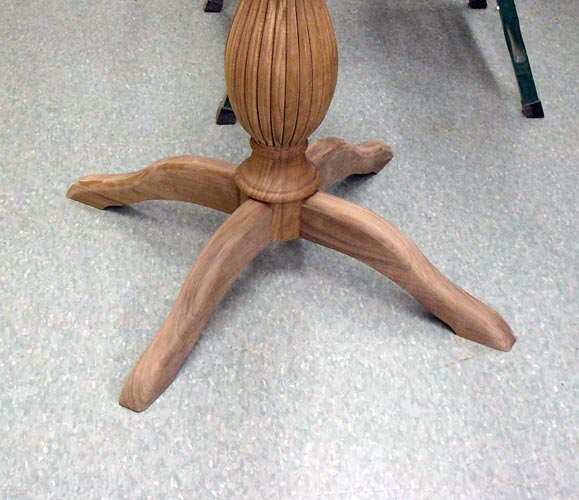
- The next step was to make the sculpted legs that would be dovetailed into the base of the pedestal.
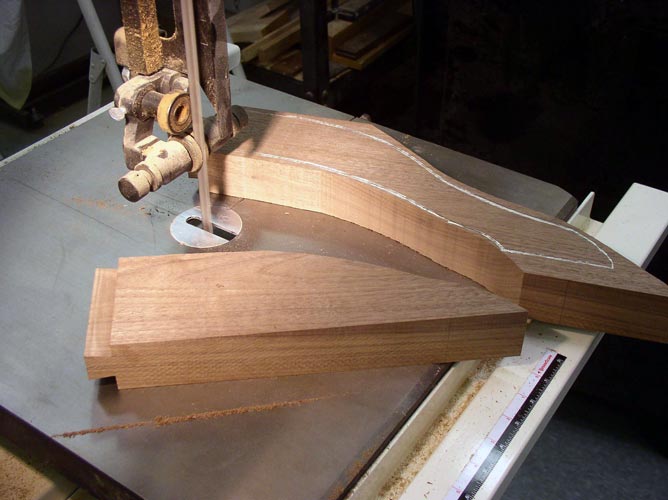
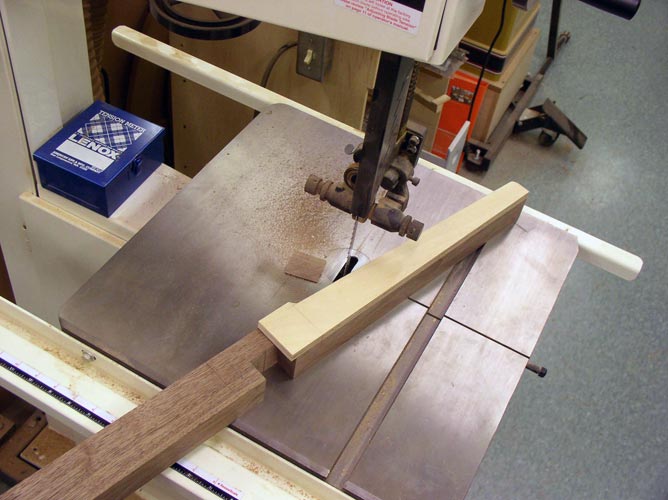
- I roughed out the feet on the bandsaw.
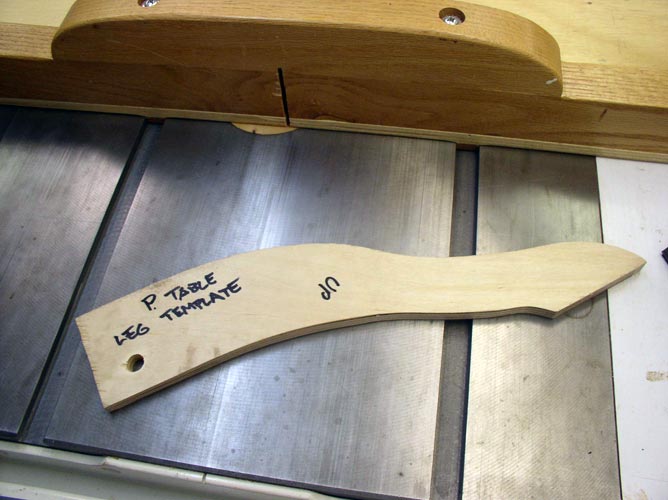
- I used a shop-made plywood template, a router, and some handwork to refine the shape so all four legs would be identical and conform to the gentle contours of the design.
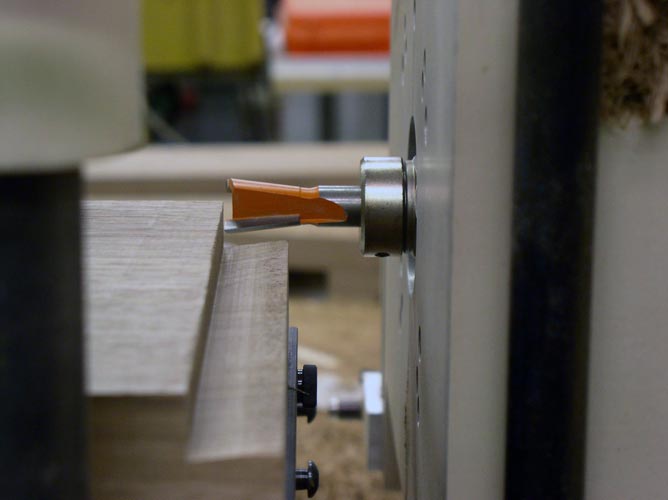
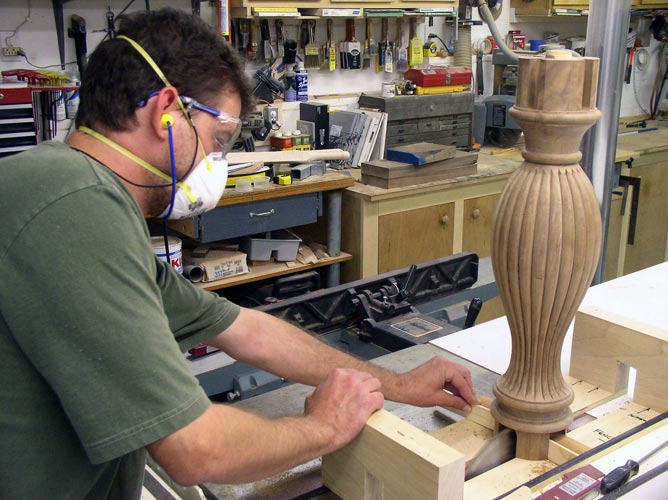
- I used a multi-router to cut the dovetails into the ends of the legs.
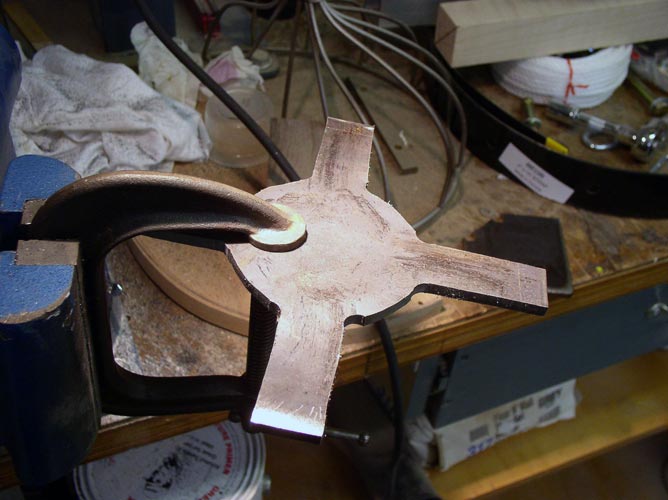
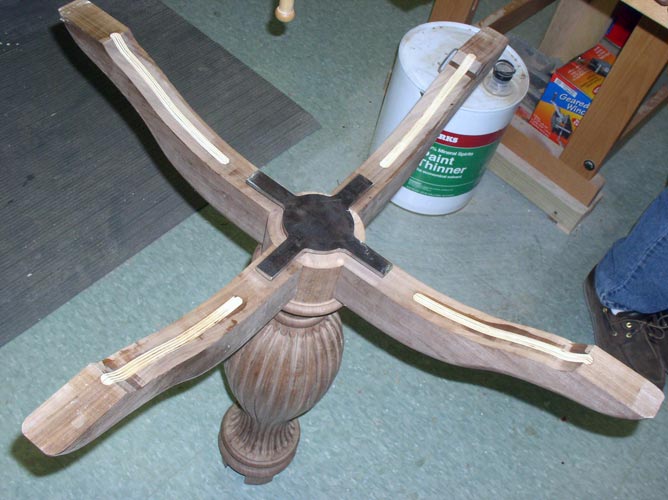
- Such a joint is quite strong, but due to the stress that would be exerted on these joints I made and inset a steel plate into the base to provide additional support for the legs.
- You can see the rough blank for the metal reinforcing plate in the vise.
- The dovetailed legs were then fit into corresponding mortises in the base of the column and secured with the steel plate.
- I again used a shop-made plywood template to shape the tabletop supports.
- I constructed and used a jig for the tablesaw to cut the corresponding slots for the tabletop supports.
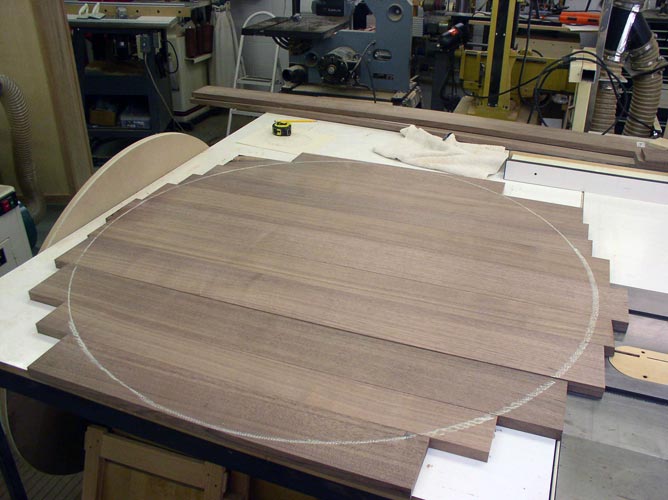
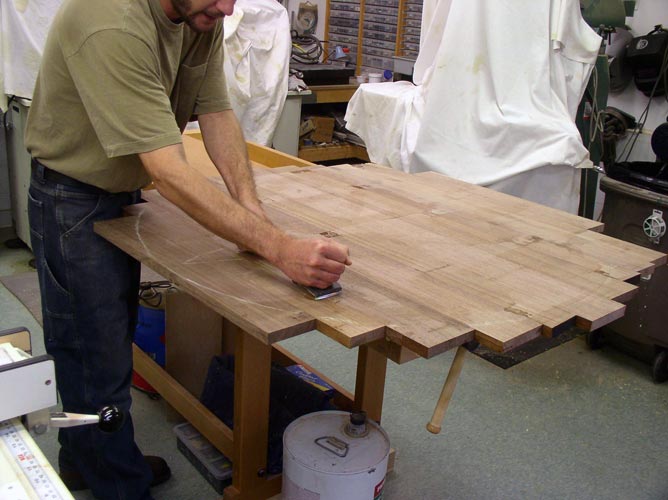
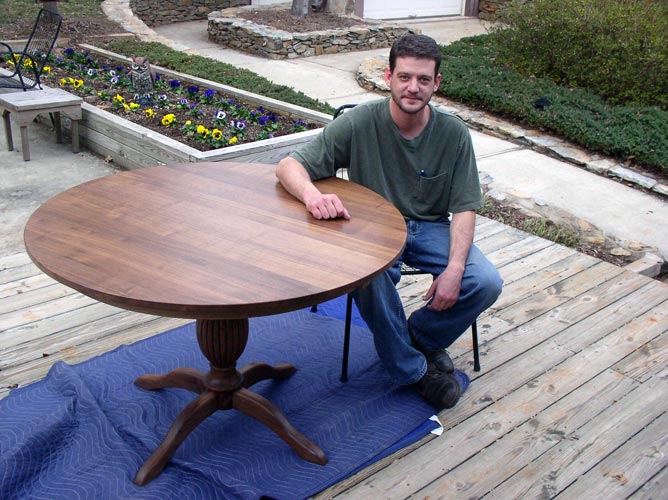
- For the circular tabletop, I carefully selected boards for matching grain and color and drew a rough chalk line to ensure correct location and orientation of each board during glue up.
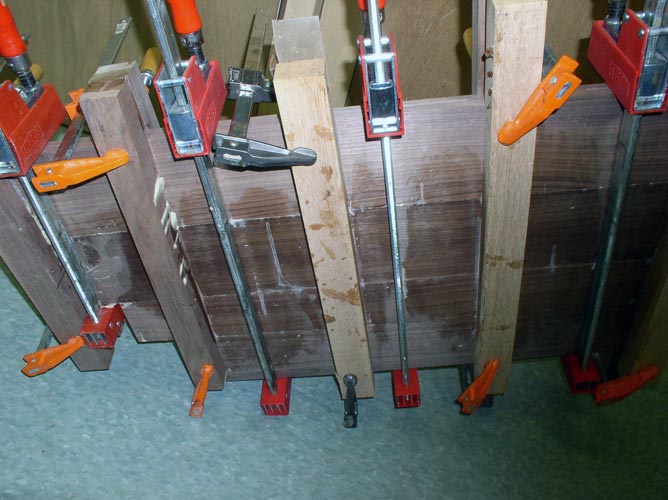
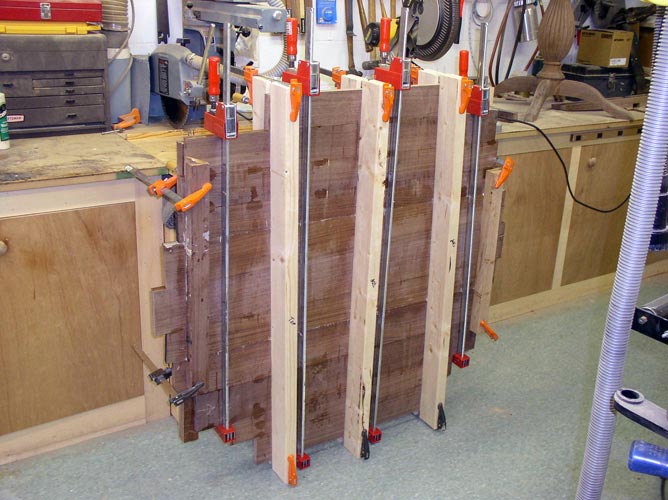
- I first glued up the top boards in sections…
- …and then glued the sections together.
- After cleaning up glue residue and sanding the top blank…
- …I cut the rough outline of the top with a jigsaw.
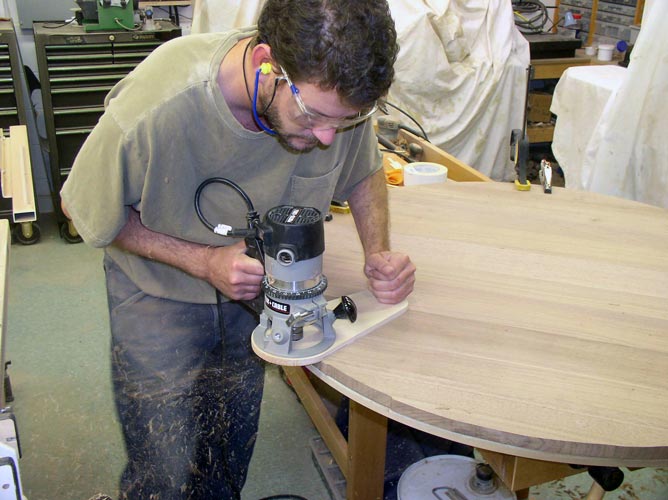
- I used a router and a full-size MDF template to cut the circle to final diameter.
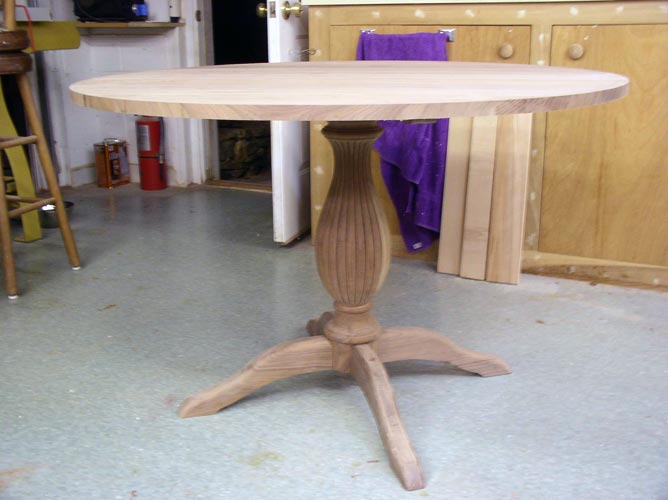
- I have marked the position of the top on the base and the table is ready for rough assembly.
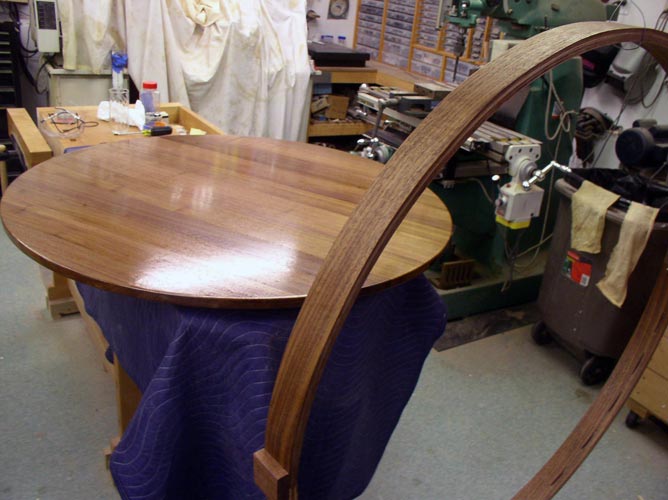
- The last major operation in constructing the piece was making the apron for the table. I glued up walnut laminates I made on the table saw for both halves of the apron and clamped them to a form so the apron would hold its shape.
- I secured the apron to the top using table clips that will allow the top to expand and contract with changes in humidity to prevent warping and splitting of the top.
- Then came hours of sanding and five hand-rubbed coats of finish.
- Then came hours of sanding and five hand-rubbed coats of finish.
- After final assembly, the table is ready to be delivered to the client’s home.
